Introduction
This article will discuss on the various image loading techniques in web and functionality of each of them. Mostly, we write img tags and leave it at that and we don’t care what happens from there. But, it’ll really comes back to haunt us later when there are plenty of images on the site and web site drags itself.
Techniques
Baseline JPEG rendering
DEMO: link here
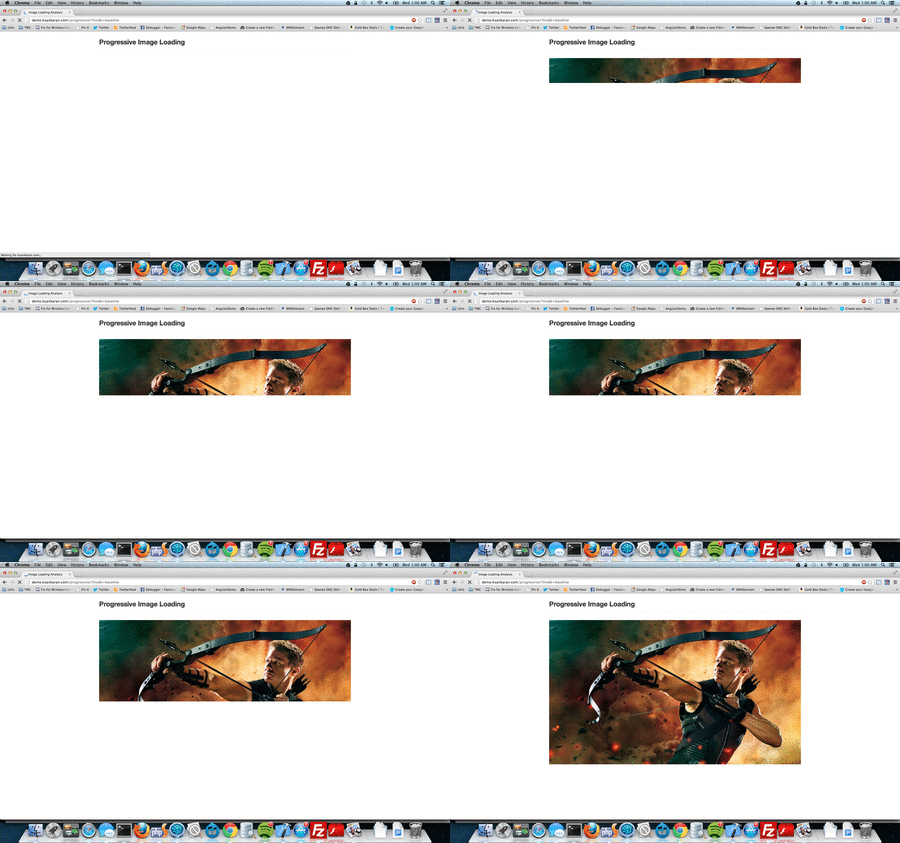
Baseline JPEGs are the default JPEG files we use. The images are rendered from top to bottom with each layer after another. Please look at the below GIF for understanding the loading process.

Now to the details, the image is fetched from the server and as soon as it gets a line, it draws there. As you can see from a test below, it took 7.6 seconds to complete the image rendering and the spinner was spinning till the end – which means, you are having a bad user experience of just painting few lines of image every second and though the document got ready, the end user is under the impression the document is still loading.
Progressive JPEG rendering
DEMO: link here
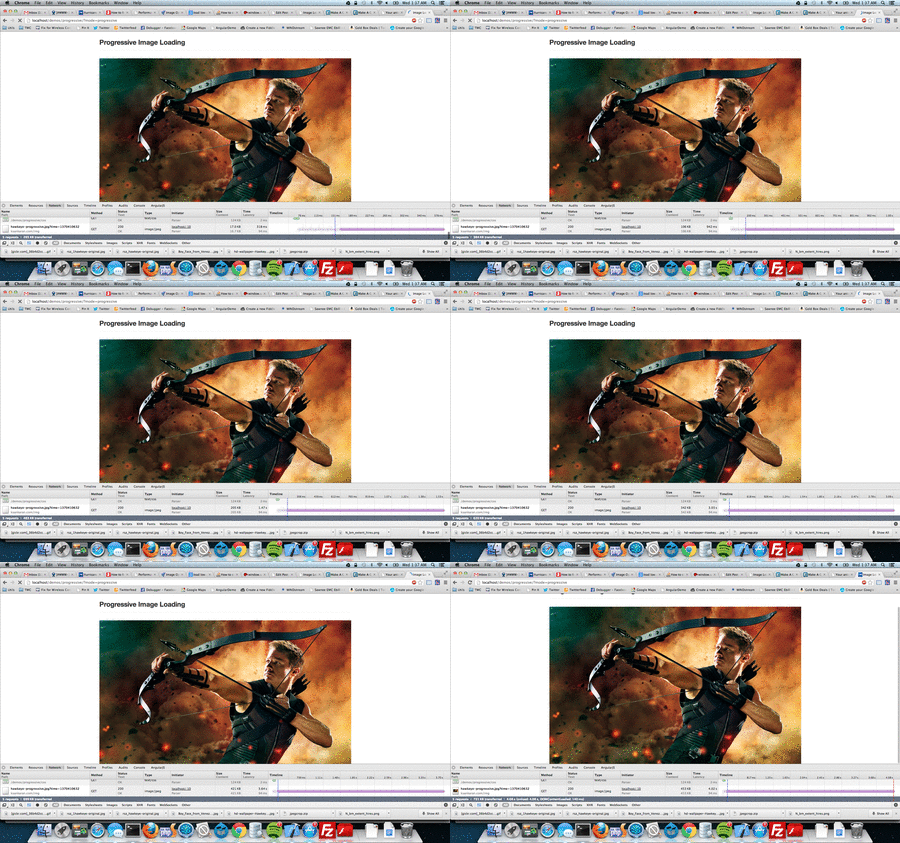
Progressive JPEGs are special kind of JPEGs which has to undergo few processes to create progressive JPEG from normal JPEG. The progressive JPEGs render in a different way – interlaced. Meaning, all the rows are rendered with first with minimum detail and as download progresses, the quality of image improves.

As you can see, the entire picture is visible right from the time page is loaded except the data is fetched continuously to enhance the picture.
Both, baseline and progressive will delay the load event.
Creating Progressive Images (Mac OS X)
jpegtran -copy none -optimize hawkeye-original.jpg > hawkeye-opt.jpg jpegtran -copy none -progressive hawkeye-opt.jpg > hawkeye-progressive.jpg |
Progressive takes almost the same computation memory and won’t bring the browser down. However, JPEGs are a compressed format and progressive is much more optimized in it but this cannot be said for other formats. PNG renders better than JPEG in progressive.
Simulate Progressive with JS
DEMO: link here
This is an idea to load the cheapest version of the image first and in a separate thread update with a HD version.
The image attribute should have low quality src and a reference to high quality src for us to load later.
<?php <img refresh="http://ksankaran.com/img/hawkeye-original.jpg?time=<?php echo time(); ?>" src="http://ksankaran.com/img/hawkeye-small.jpg?time=<?php echo time(); ?>" width="100%"> ?> |
On document ready, create a timeout thread to update the src:
$(document).ready(function() { window.setTimeout(function() { $('img[refresh]').each(function(idx, element) { var refreshURL = $(element).attr('refresh'); $(element).attr('src', refreshURL); }); }, 200); }); |
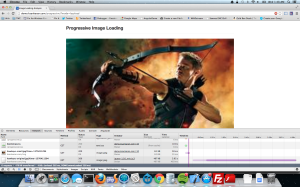
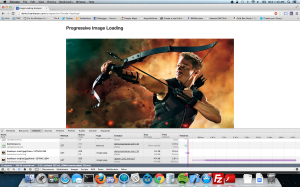
With this JS simulation, we get a better user experience and document load is fired right after the low quality version is loaded. The only disadvantage is, increased network traffic with small and HD version loading for every image. However, if it is used for only HD images on the page, this is an great approach.


Hi Velu,
I am working on my brother’s website which uses angular js and php slim framework. i used to have a base64 image (a single image) loaded in the DB itself for the initial or cover image of the property. BTW, the site is about property. (www.valueaddrealty.in). How can i use the progressive image rendering? as the data comes as a binary and not from a URL.
How can i make the site work fast than it is now. It is pretty much slow now.
Any ideas will be helpful for me.
Thanks,
Sanjeev
I took a look at your website and based on the page loads, I see the following problems:
1) Some of your JS files are not minified (angular.js).
2) I don’t think, the base64 ones are actually causing the delay but the other images are:
https://www.evernote.com/shard/s56/sh/6d28f1b7-61f9-428b-90a5-e8a62f06f07f/db3512e0edddf6d3e1e656578371cbe7
These images are taking 2+ seconds to load. I see you load them asynchronously but I don’t see any particular delays with base64 ones.
How do you get the base64 images?
whenever we add a new properties to the DB, i am uploading a cover image to the DB itself as a base64 data.
once the property is clicked, there is a image carousel where the images will be rendered from a file location and the location path is saved in the DB.
Actually the page loads because of the api calls.
https://dl.dropboxusercontent.com/u/22139226/valueaddrealty_pagetime.png
Initially the api call takes more than 50s to return. Why so? Am i doing any wrong?
Hmmm, there are multiple things to be done here. For one, the image which is showing as 15 seconds on your machine is actually going 404 in mine and that is basically because you don’t have ng-src on your img element in /partials/property-details.html.
https://www.evernote.com/shard/s56/sh/b2d9c5c2-16a2-4ee8-bd2c-c71245125734/30874426a6ae80a20c9ae0fc0bf7a2bb
The same in /partials/home.html:
https://www.evernote.com/shard/s56/sh/f7a5c46f-7c00-4e4b-ad4b-377b31a8a87f/b241d74da429bac14bfd93dc6dbd0f2d